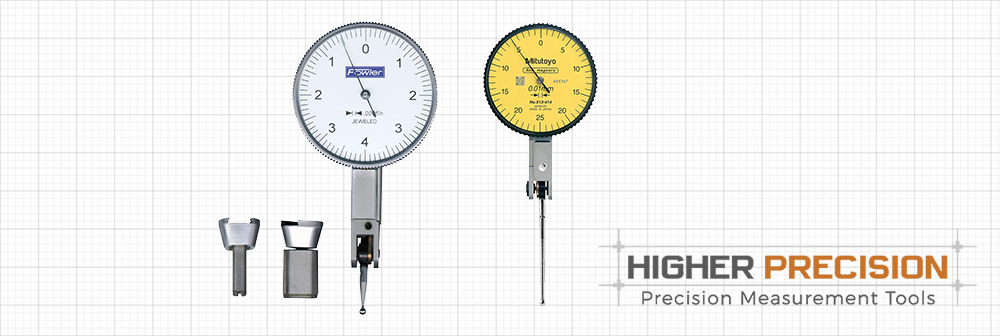
Reading an indicator may sound simple, and once you know what you are doing in the process, it can be. However, like all procedures in precision measurement, you want to make sure that you know the exact steps when reading a dial test indicator in order to get an accurate measurement. Dial test indicators are a common tool found in machining shops and other measurement settings.
We will walk you through the process of using and reading a dial test indicator, offering you a reference guide for how it is properly done.
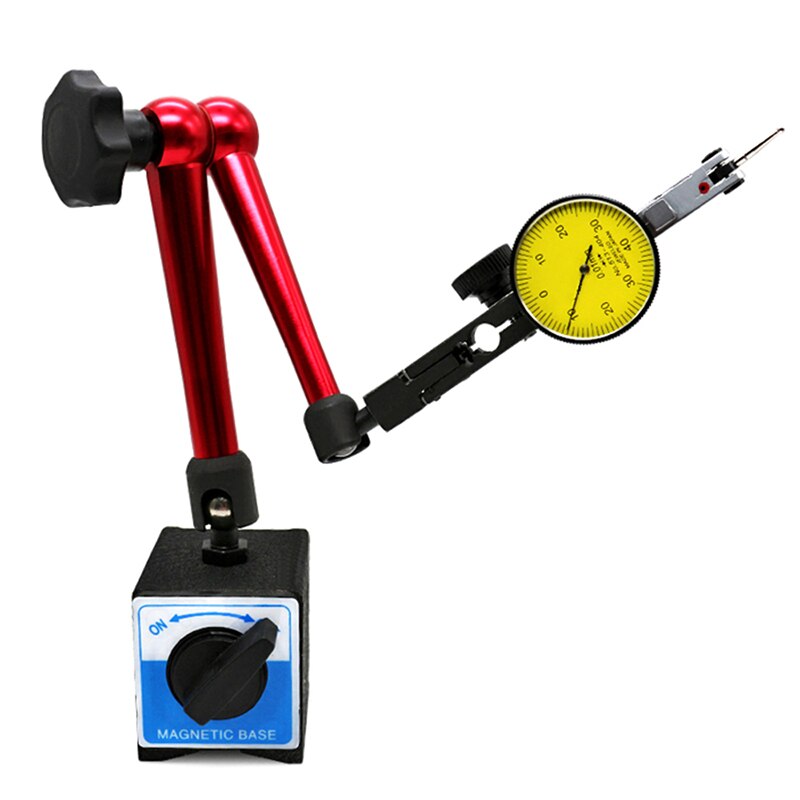
Identifying the Specific Parts of a Dial Test Indicator
Before going into the actual steps of reading a dial test indicator, we want to review the specific parts so that you know what we are referring to throughout.
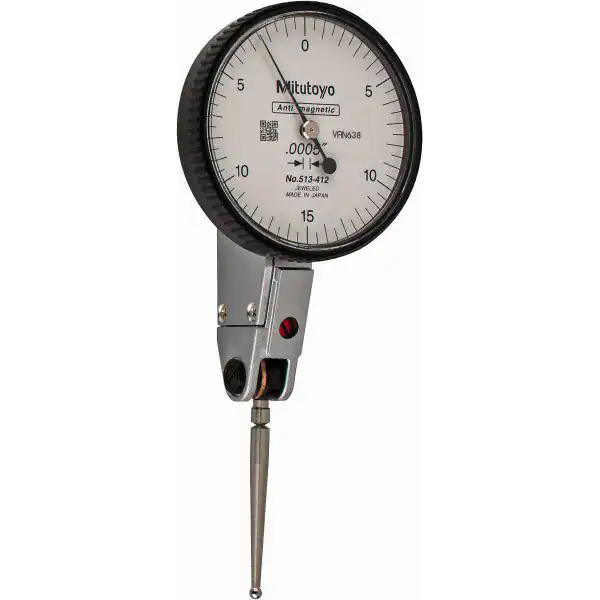
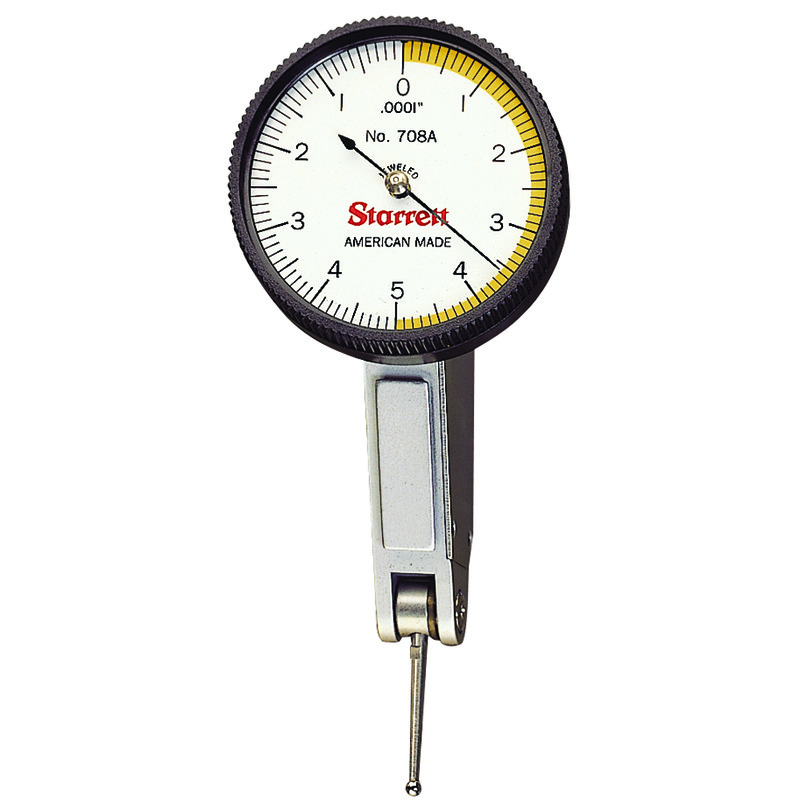
- Picture a dial test indicator head-on, looking at the dial, or dial face. On the dial face you will find a smaller gauge known as a turn counter.
- At the top of the device you have the dial test indicator cap.
- On either side of the cap, on the exterior of the dial face, there are two limit markers. Adjacent to the right limit marker is the bezel clamp.
- The bezel surrounds the dial face, and the hand or pointer is on the dial face.
- On the bottom of the dial test indicator you will find the stem.
- Midway down the stem is the spindle or plunger, and at the bottom of the stem is the contact point.
How to Read a Dial Test Indicator: Step By Step
1. Calibrate Your Indicator
Start by mounting the dial test indicator onto a stand. Most of these tools will come with their own stand, but you may also use another one if you have one available. After securing the indicator to the stand, your indicator will be fully stabilized. If it is not already, you want the hand or pointer on your dial face indicator to point to zero. Adjust the face by spinning the bezel until the hand is precisely over the zero point. Now your dial test indicator is calibrated, ensuring that there will be fewer potential errors while taking measurements.

2. Read the Dial Indicator Output
Press the end of the spindle extension, or the contact point, against the surface of the part you are measuring. As you press the indicator against the part surface, lock the indicator into place and begin to watch the reading on the dial while rotating the part. As you rotate the part, the pointer on the indicator will move when it detects runout or surface distortion.

3. Reading the Actual Dial Test Indicator
While rotating the part, note the maximum position that the needle moves to the left of the zero point. Then, spin the bezel such that the zero point is once again aligned with the pointer. Rotate the part again and note the maximum position that the needle moves to the right of the zero point. This new value gives you the total amount of movement and equals the amount of surface distortion or runout present.
Additionally, you may experience multiple revolutions of the hand around the dial face. You want to count the number of revolutions that occur as well as where the hand finally stops. If your dial test indicator has a small gauge or turn counter in the dial face, this will track the total number of revolutions as well.

Helpful Tips for Using Dial Test Indicators
- Dial test indicators are used to test parts for runout and surface distortion.
- Each mark around the dial face of an indicator represents 1/1000 of an inch.
- When the hand falls between two marks, it is ok to average between the two or to round up or round down depending on your regulations.
- These little tools are incredibly common, and understanding the steps to use and read a dial test indicator is key.
- Knowing how to read a dial test indicator is important to taking and reporting accurate measurements.

